 DongDong Park
Build a motion controller with a micro:bit
Updated
At the heart of every motion controller is an accelerometer, which turns tilting and shaking into numbers. The micro:bit board that many schools already have contains one, so with a computer you can build a controller that steers a character when you tilt it and fires off a move when you shake it.
First, read the sensor’s numbers
The micro:bit’s accelerometer has three axes (x, y and z). In MakeCode you read it with the acceleration (mg) x block, in milli-g (mg; 1000 mg is about the pull of gravity). The official example: with the board lying flat, screen up, x and y are about 0 and z is about -1023, because gravity is always pulling down.
- Tilt left or right and x moves away from 0 in either direction; tilt forward or back and y changes. The more you tilt, the bigger the number: it is a continuous value.
- Shake it and all three numbers jump around sharply. MakeCode turns movements like this into ready-made gestures: the shake block is “on shake”, and the same menu has “logo up”, “tilt left”, “free fall” and more.
- If you want the angle directly, use the rotation (°) block (under Input → more). It reports how many degrees the board is tilted forward and back (pitch) or left and right (roll), from -180 to 180.
“Tilted more than 300 mg counts as right” is a threshold: it turns a continuous value into an on/off decision. The “shake” gesture is also the program applying a threshold.
Method 1: Scratch + the micro:bit extension (quickest)
The Micro:bit Educational Foundation describes this as turning the micro:bit into a physical game controller. You need a Windows or macOS computer with Bluetooth and Scratch Link installed; put the Scratch program on the board, then in Scratch choose Add Extension → micro:bit. The blocks that matter for motion:
- “when tilted (any)” and “tilt angle (front)”: which way the board is tilted, and by how much.
- “when (moved)”: the menu has moved, shaken and jumped.
- “when (A) button pressed”: add the buttons and you have a complete controller.
- when ⚑ clicked
- forever
- change x by ((tilt angle [right]) / (5))
- change y by ((tilt angle [front]) / (5))
- when [shaken]
- say (Blub blub!) for (1) seconds
The “divide by 5” sets the sensitivity. Change it to 2 and the slightest tilt sends the fish shooting off; change it to 10 and you have to tilt a long way before it moves. Another round of tuning by feedback.
The micro:bit can’t simply be plugged in as a USB keyboard or gamepad; the Scratch extension is the easiest way to use it as a controller on a computer.
Method 2: two boards talking by radio
Hold one board or strap it to your wrist as the “controller”. In MakeCode it reads the acceleration in a loop and sends it with radio send value. The second board, plugged into the computer, uses on radio received to show the numbers on its LED display or pass them to the computer with serial write value. Both boards must be put in the same group with radio set group. It is a small Internet of Things project: collect data, process it, send back a control.
Method 3: train a small model on movement data
The Micro:bit Educational Foundation’s CreateAI tool uses the board’s accelerometer to collect data for movements such as “wave”, “clap” and “jump”, trains a machine learning model, and puts it back on the board to run (running it needs a V2 board). Students see data → training → recognition for themselves. Then compare it with camera pose recognition (see how motion games work): one watches how a wrist moves, the other how the whole person looks in the picture.
How it compares with a console’s motion controller
A console’s motion controller also has an accelerometer and a gyroscope, and some add an infrared camera or a glowing ball tracked by a camera, so they know where on the screen the controller is pointing. A micro:bit only has the accelerometer: it knows how it is tilted and shaken, but not where it is. That is a useful lesson in itself: every sensor sees only part of the picture.
Safety
- Strap the board on firmly with elastic or a wristband, and don’t swing it around loose, or it may fly off and hit someone.
- Don’t wrap the battery pack’s wire around fingers, and switch it off when you’re done.
- When several groups use radio at once, give each group its own group number so they don’t interfere with each other.
In this series
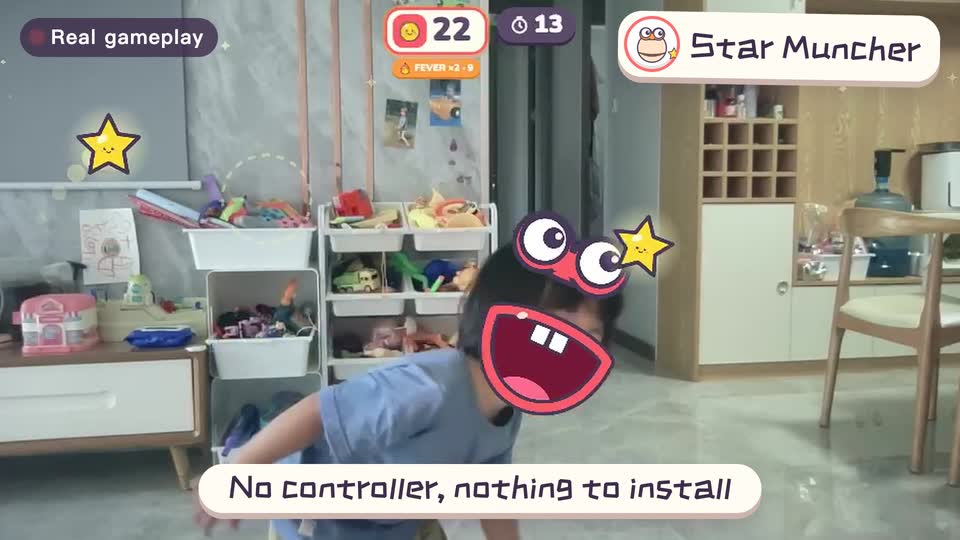
Real footage · 14 s
Kids stand in front of the computer and just move
100+ motion games for ages 3 to 18. Open the website and play: nothing to install, and the camera picture stays on this computer.
Sources
- micro:bit V2 Hardware Overview. Micro:bit Educational Foundation. Accelerometer and magnetometer in one three-axis chip; gestures such as shake and logo up are recognized by software
- MakeCode for micro:bit: acceleration. Microsoft MakeCode. Lying flat, screen up: x and y about 0, z about -1023 (in milli-g, mg)
- Coding with micro:bit (Scratch, MakeCode, Python). Micro:bit Educational Foundation. Turning the micro:bit into a physical game controller needs a Windows or macOS computer with Bluetooth and Scratch Link
- micro:bit CreateAI user guide. Micro:bit Educational Foundation. Collect movement data with the accelerometer, train a machine learning model, run it on a V2